One Bouquet of Flowers Done Three Ways

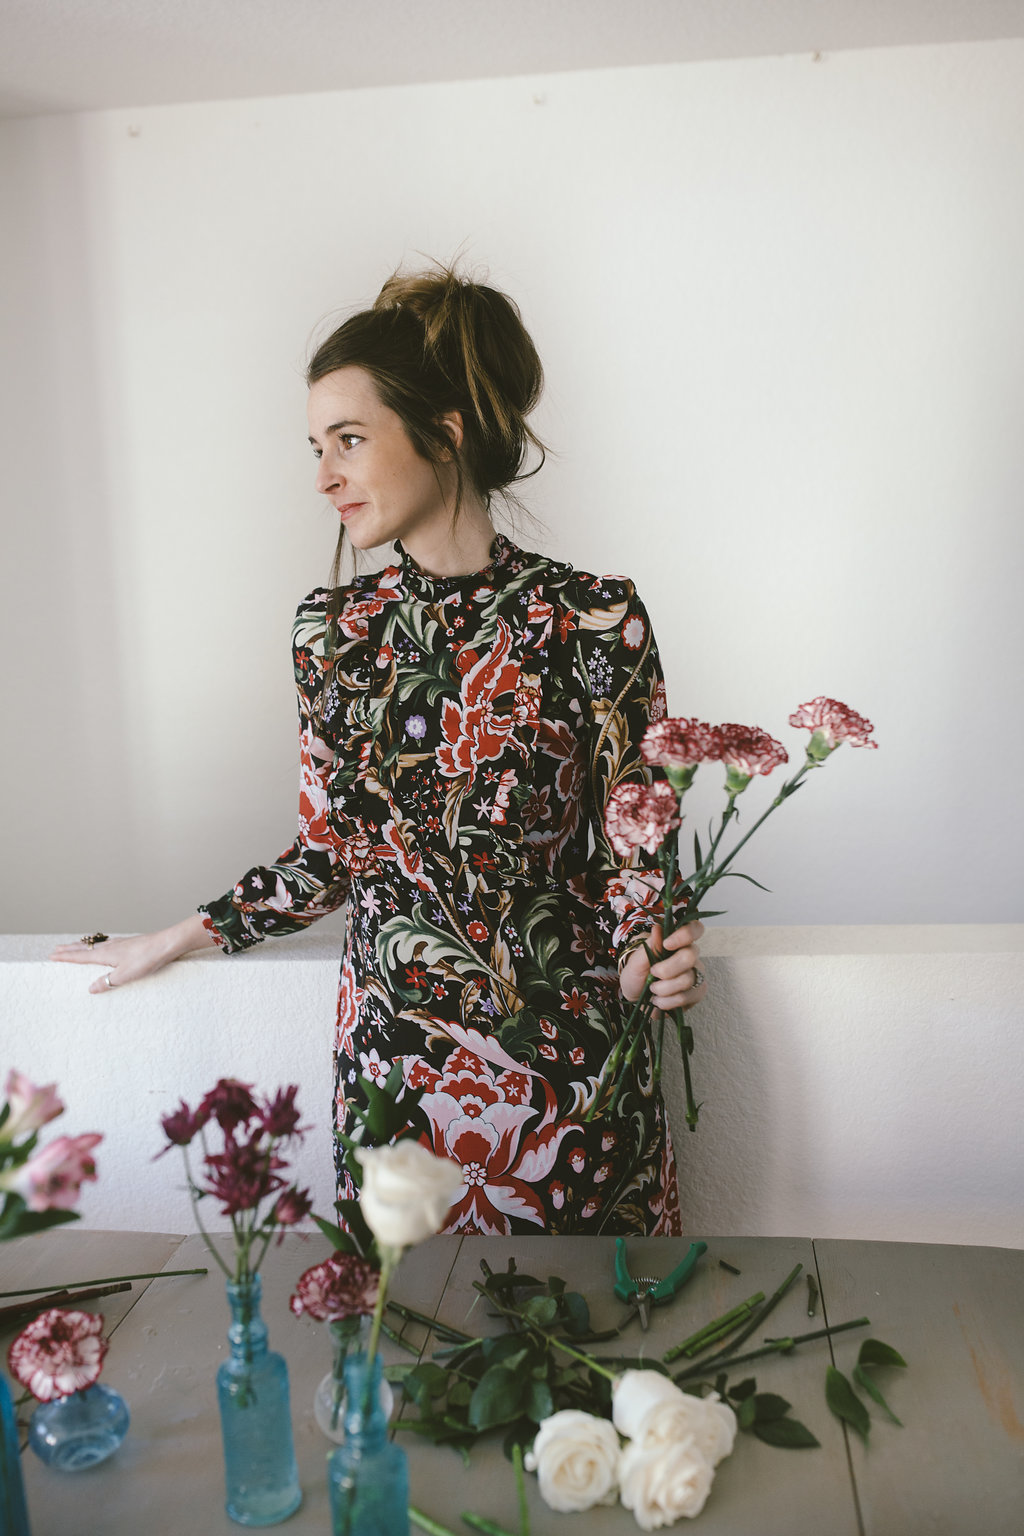
If I could get paid to play with flowers, I would. Actually, at one point I did. While I was pregnant with Winter and off for the summer, the woman who did our flowers for our wedding, Sarah from Ladybird Poppy, took me on as her employee to learn a few things. She taught me so much about floral design and I am excited to show you some of the tips I've learned along the way.
For this feature, I've teamed up with ProFlowers to show you three ways to design flowers.
Materials:
- 1 large glass vase
- 5 mini vases
- Floral scissors
- Mixed flowers
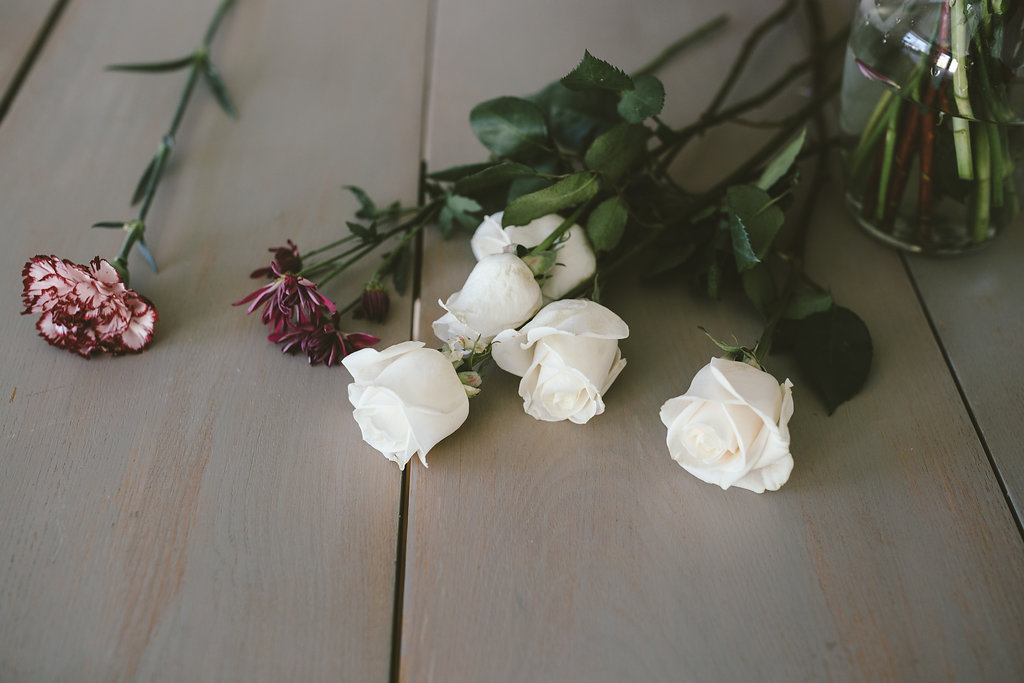
Flowers in this bouquet:
- 6 bi-color white/burgundy carnations
- 5 burgundy leucadendron
- 4 pink or white alstroemeria
- 4 purple cushion poms
- 5 white roses
- 3 ruscus
1). Mixed Up Pretty: This is the way they were shipped and designed by ProFlowers and is a beautiful way to display any variety of blooms.
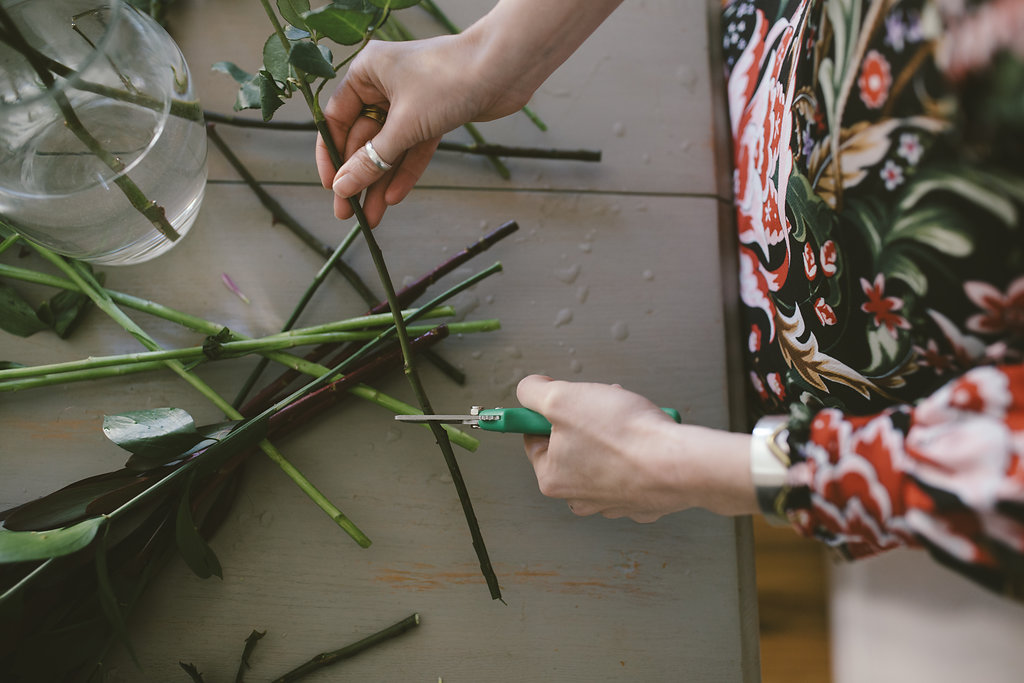
- If you're using your own mix of flowers, simply organize all the flowers by variety and lay them out on the table.
- Start with one flower in your hand and begin gathering the flowers into one group, alternating which pile you chose from each time.
- Once your bouquet is complete, set it back down on the table and cut the bottom ends of the stems to be about the same length (varying about a quarter of an inch) and at a 45 degree angle.
- Once you're done cutting, immediately place them in the water into a large glass vase.
- This mixed up look can be viewed from 360 degrees because the flowers are about the same length. They look great as a center piece for the dining room table.


2). Monochromatic: I love this sleek, modern monochromatic look.
- I first organized all the flowers by variety in to separate piles on the table (like you did for Mixed Up Pretty, too).
- I then began with the white roses by cutting them and placing them in the vase and off to one side.
- I continued to do this process with two other groups of the flowers (the carnations and the cushion poms) and placed them next to the roses (in the middle of the vase).
- I cut the ends of the greenery varieties (the lecadendron and ruscus) the least amount so that they would be the tallest and tucked them into the back, behind the colored flowers.
- For fillers, I used the alstroemeria and cut them to be the shortest, placing them in the front of the vase to really ground the design.
- Because these flowers are different heights, this bouquet looks the best when the vase is facing forward. This design would look great on a bookshelf or accent table next to the wall.


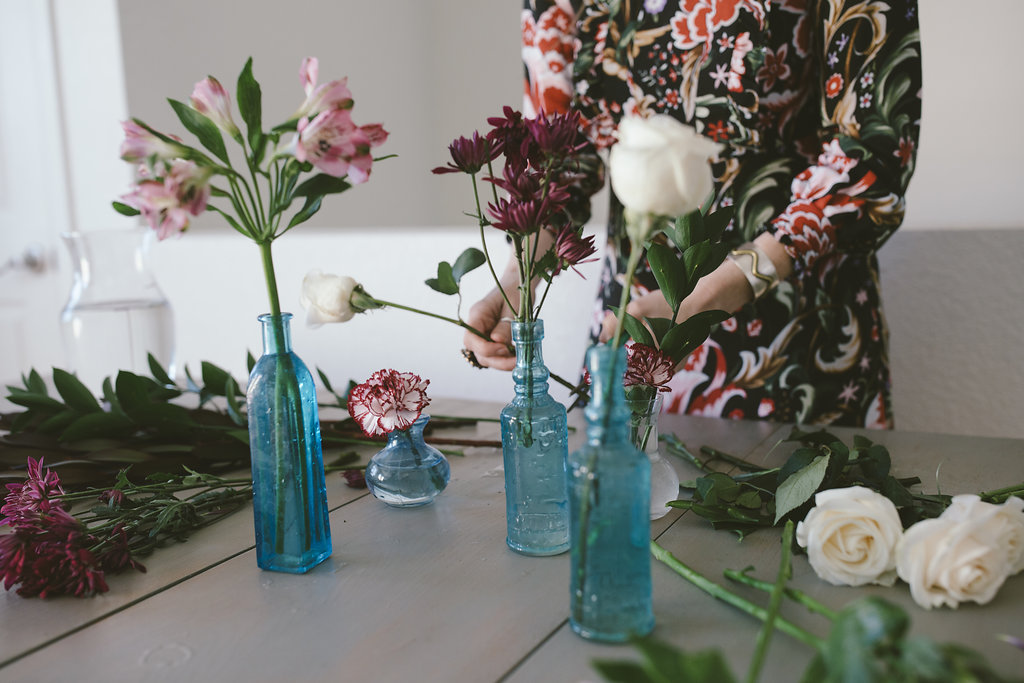
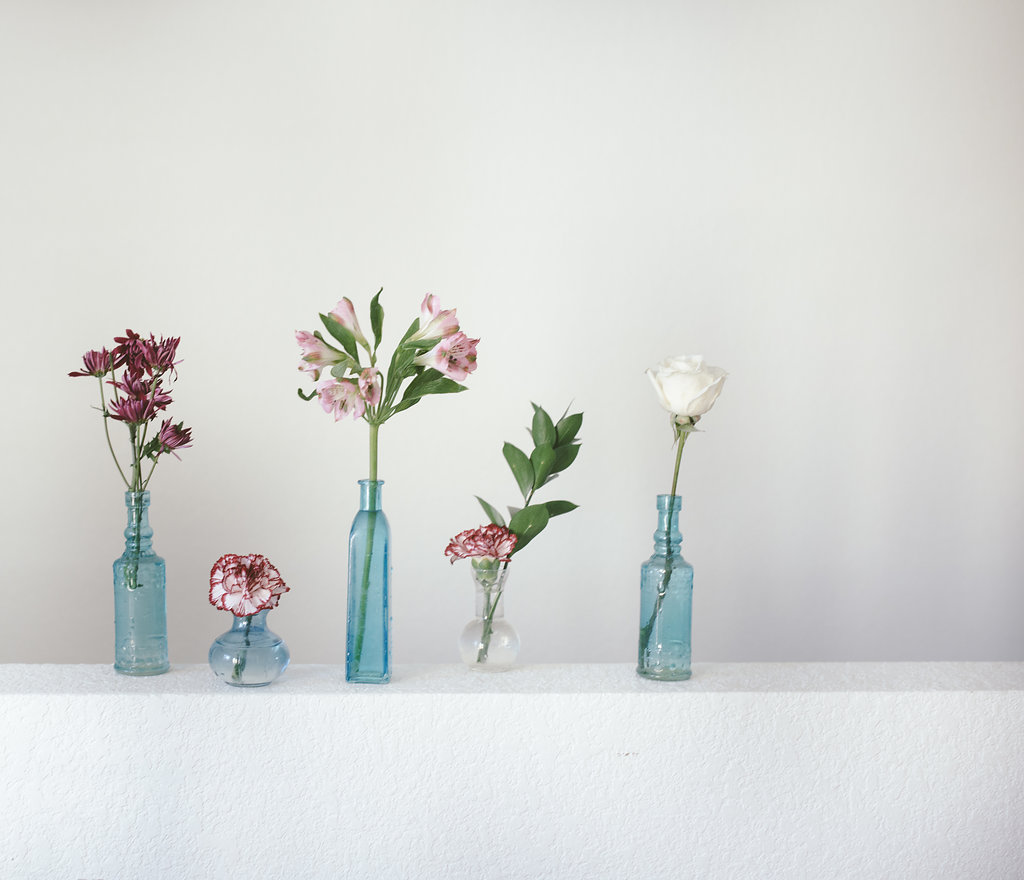
3). Dainty Darlings: I wish flowers would last forever but we all know they don't. That's why this option is perfect for when some of the flowers have seen better days.
- Simply take the flowers that still look great and pop them into little vases.
- I love scattering these beauties around the house or putting them in a cluster on a window sill or bookshelf.
- I find that an odd number of vases always look best when grouped together.

A huge thank you to ProFlowers for the blooms. As always, all thoughts and opinions are my own.
Photography by Brittany Renee'