
How To Do An Indoor Plant Transfer
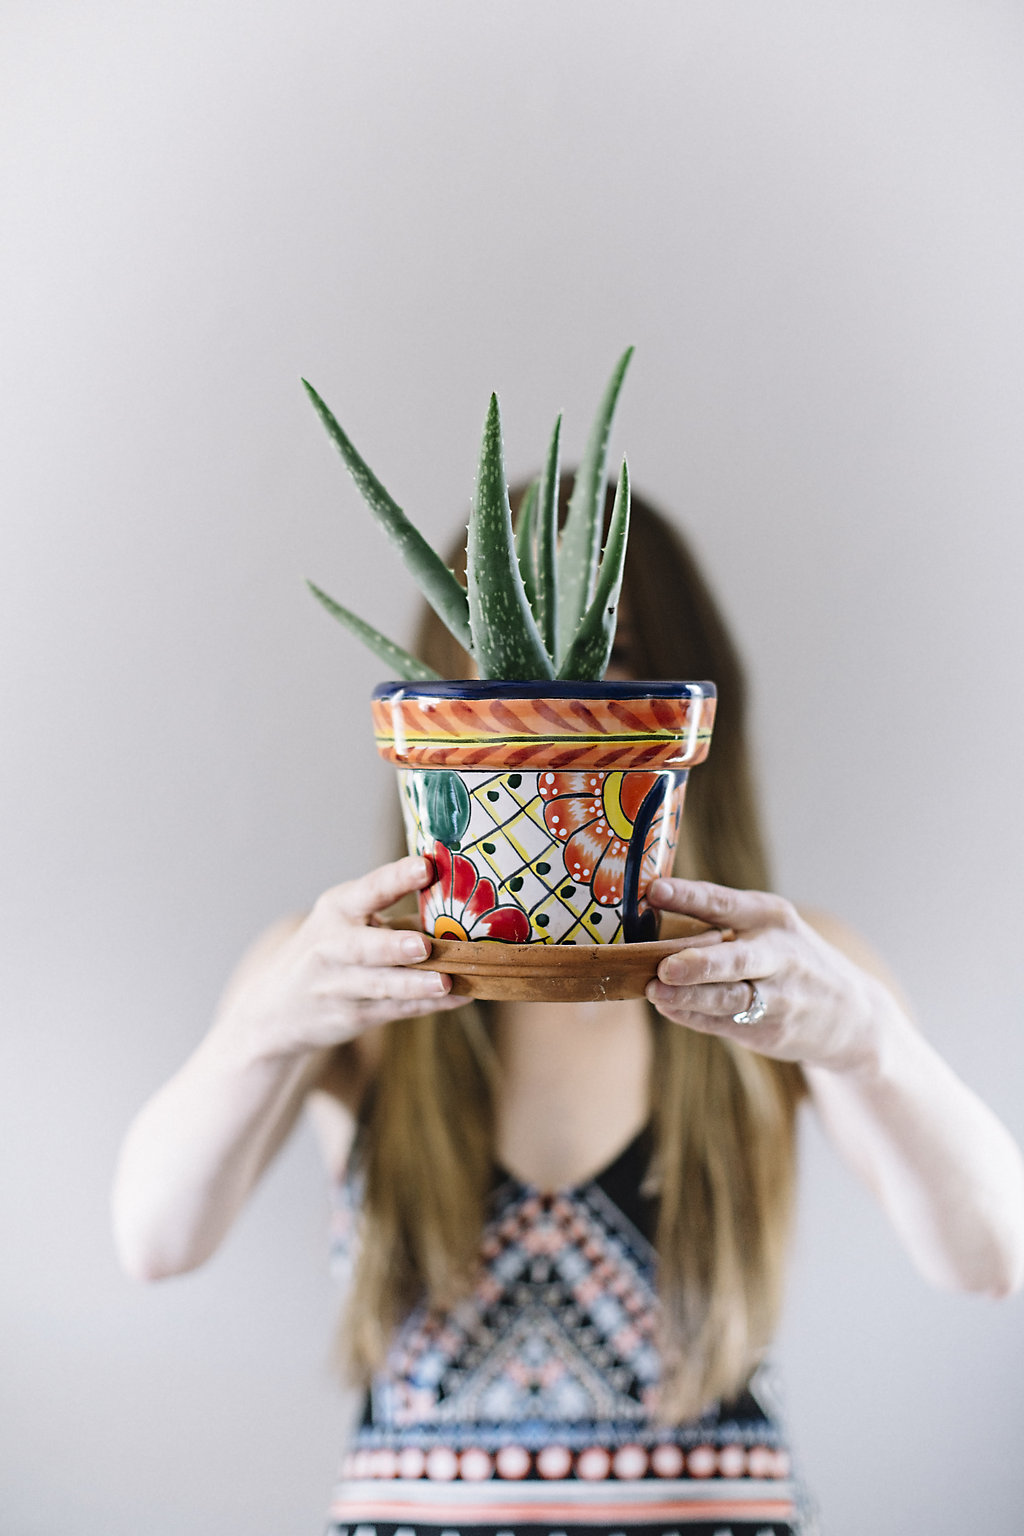
Hey everyone. So it may seem silly and very elementary, but a few of you asked how to transfer an indoor plant from the store bought pot to another pot. So here ya go....

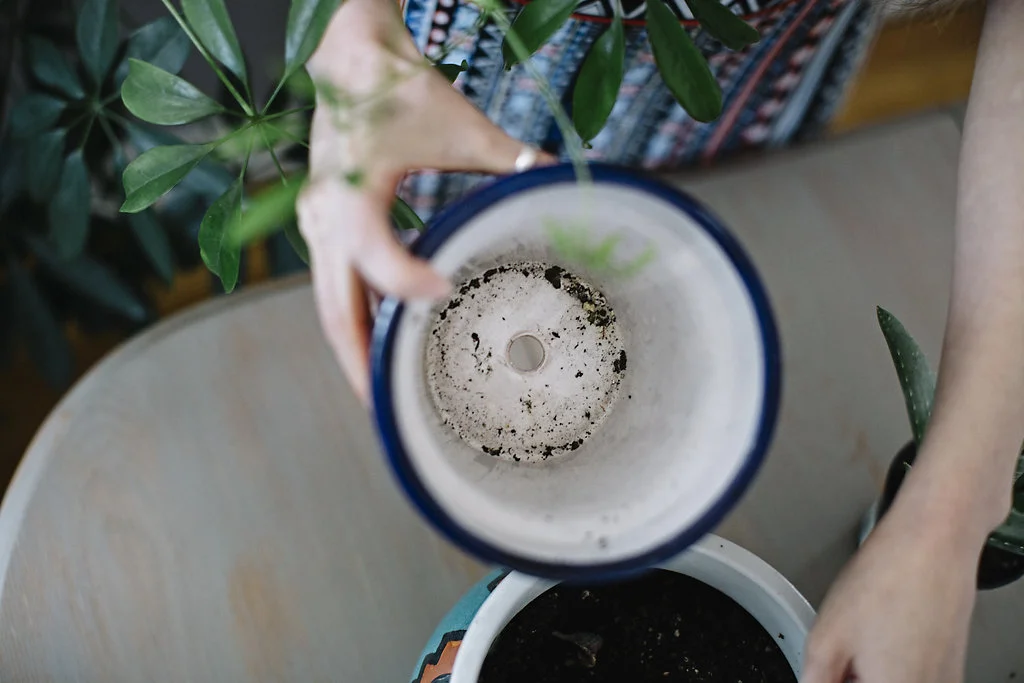
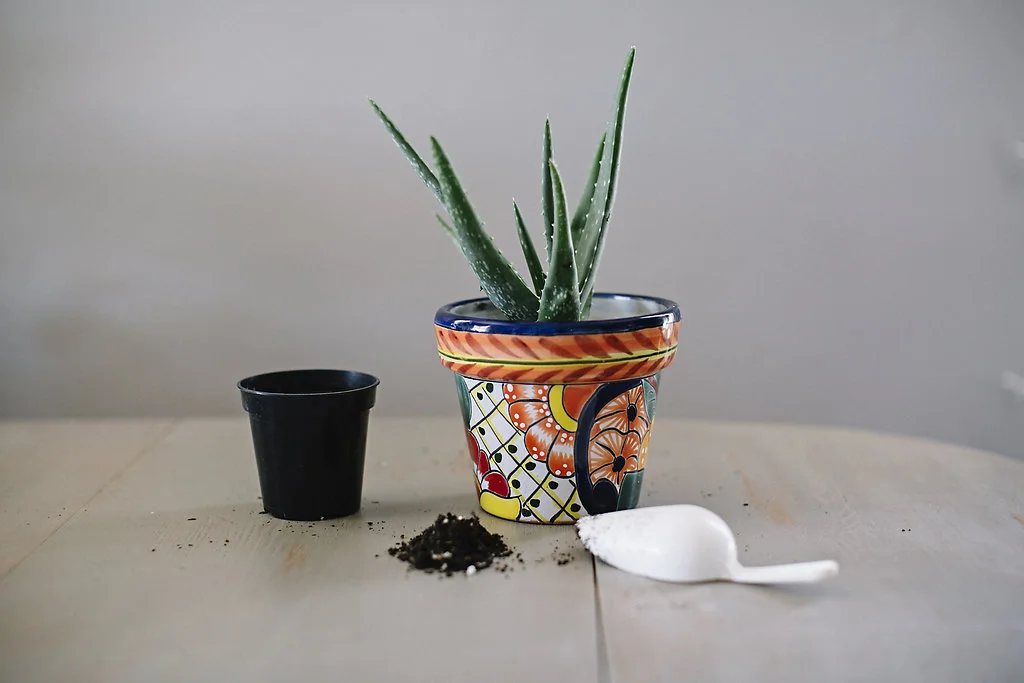
Step One: Find a pot that has a drainage hole. I find that plants thrive much better when they are allowed to drain properly. Plus, it prevents you from over-watering. (P.S. you'll need a tray to put under the pot so water doesn't leak all over your counters).
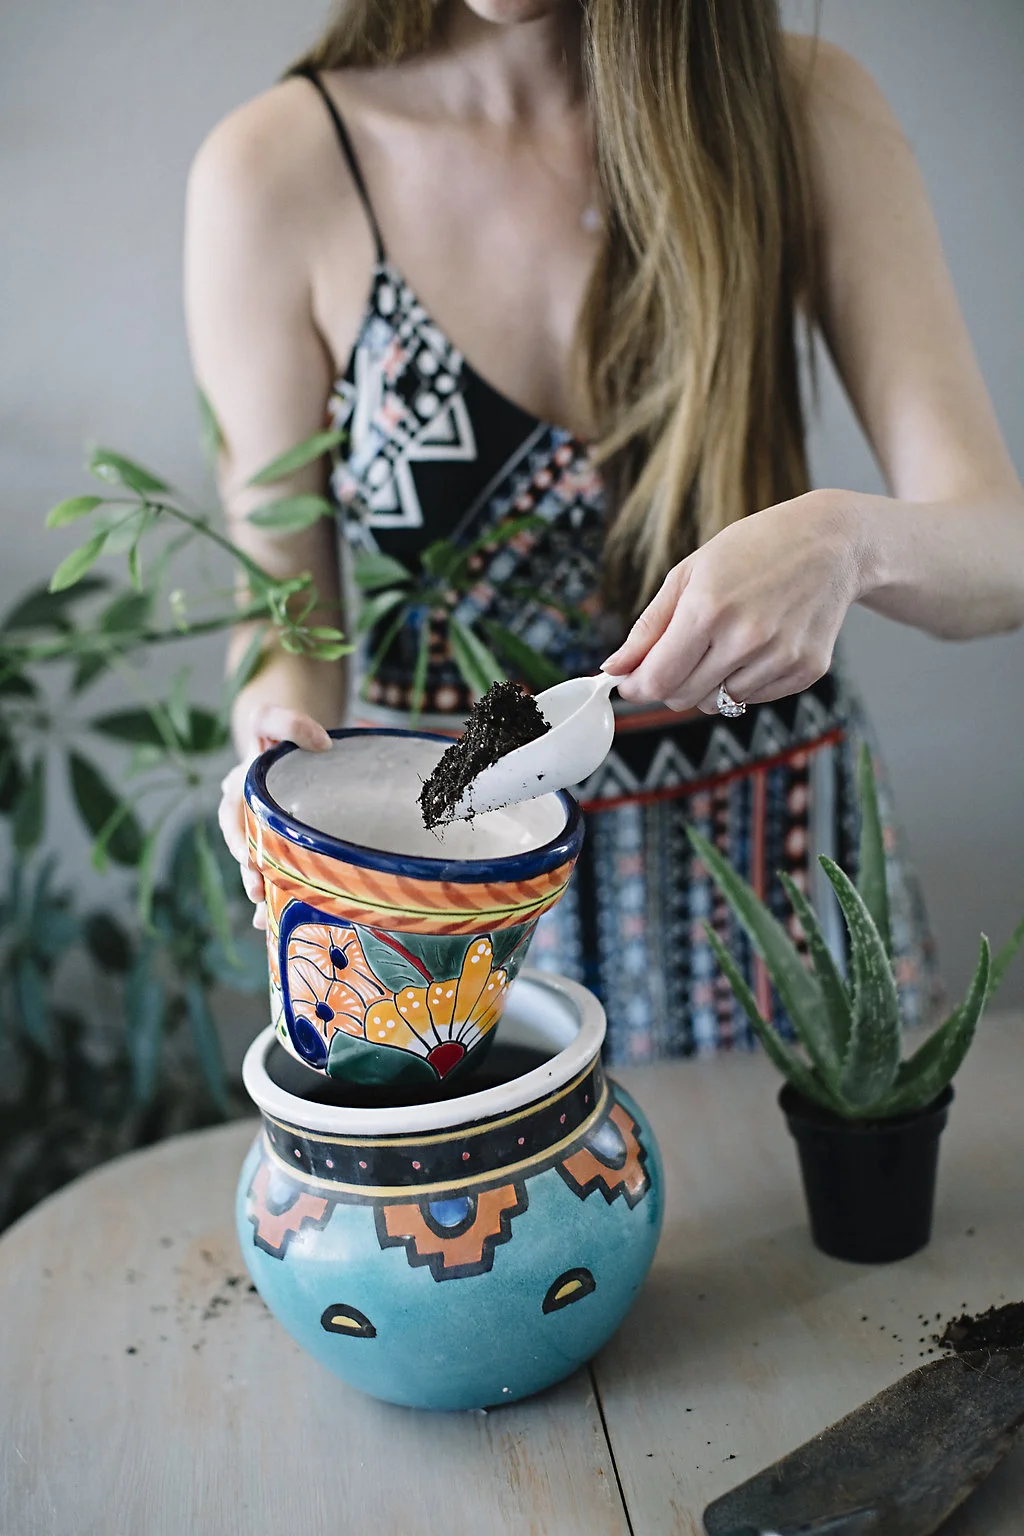
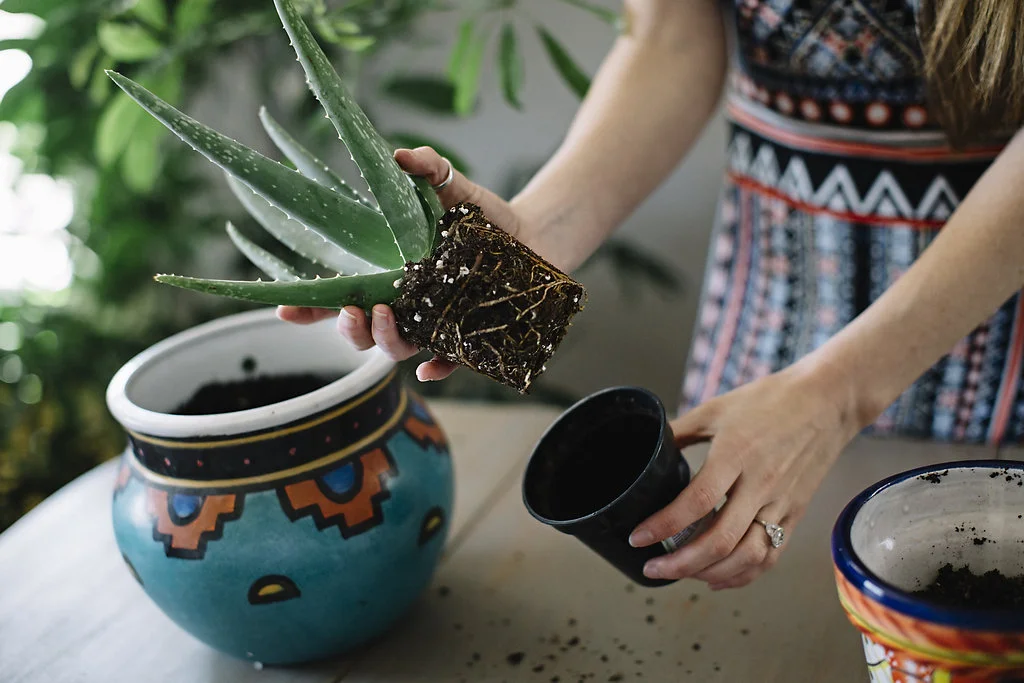
Step Two: Put the soil in the pot that you're wanting to plant. Fill it about 3/4 the way full.
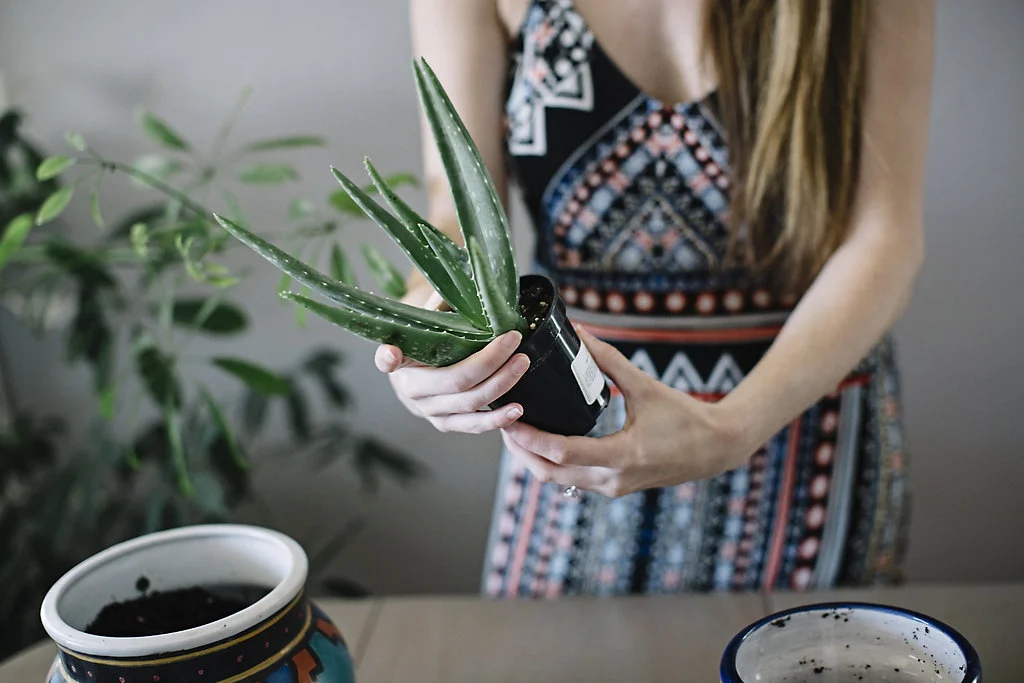
Step Three: Squeeze the sides of the plastic pot and start to shimmy the plant out of it. Sometimes you need to give the bottom of the plastic pot a good smack to loosen it if it doesn't come out easily.
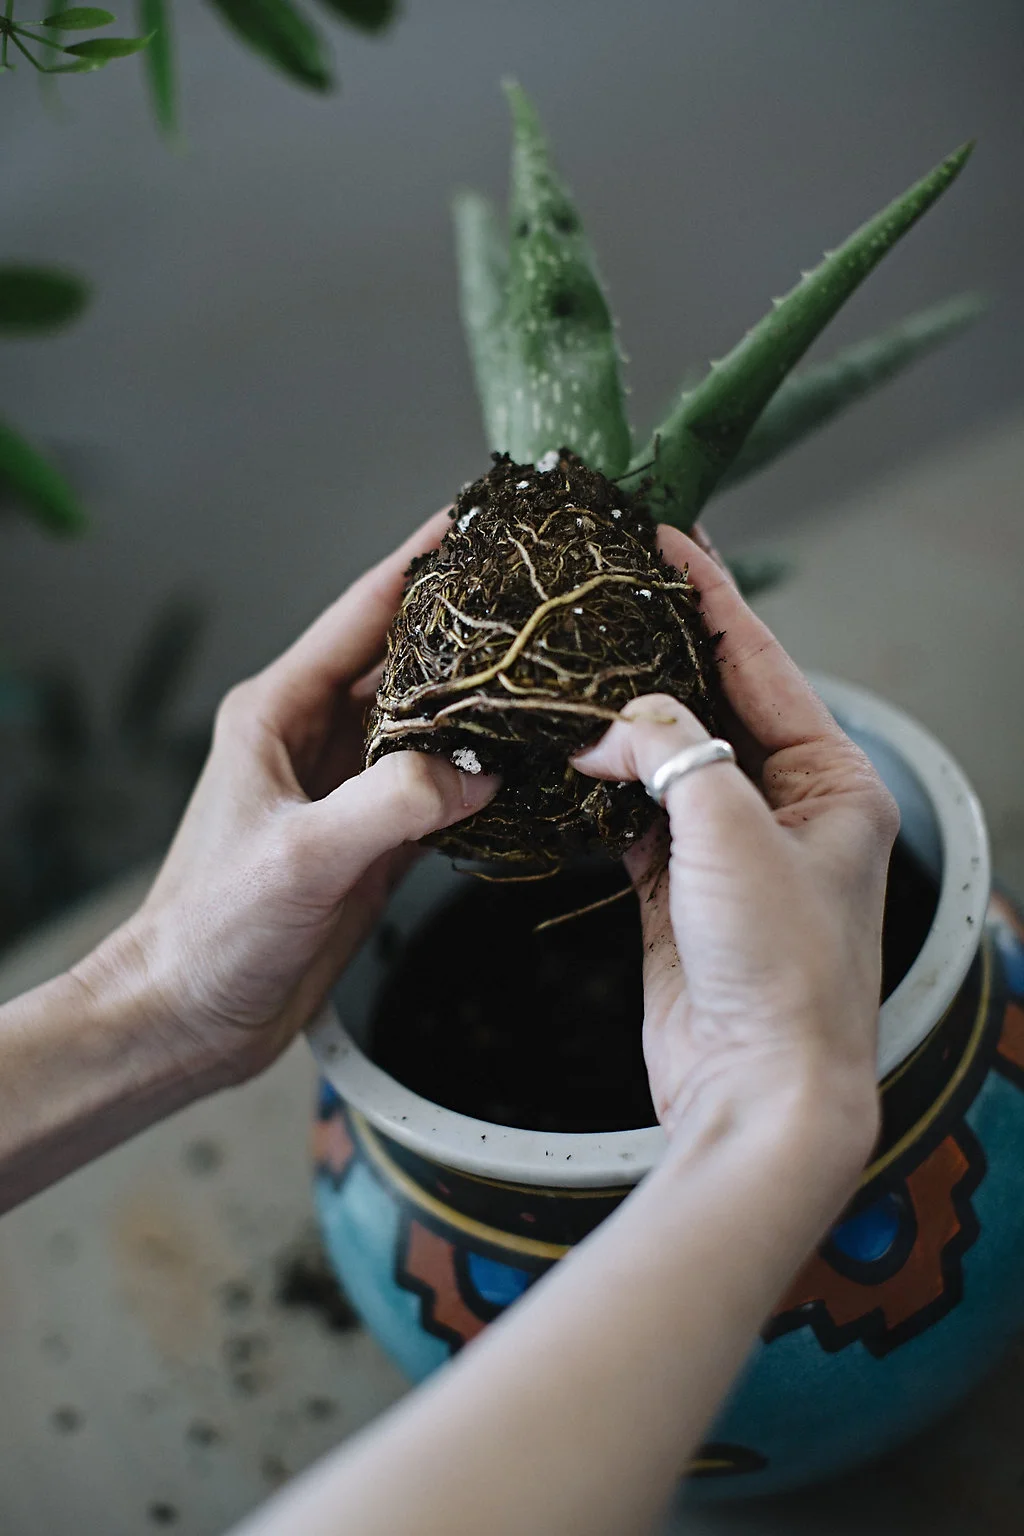
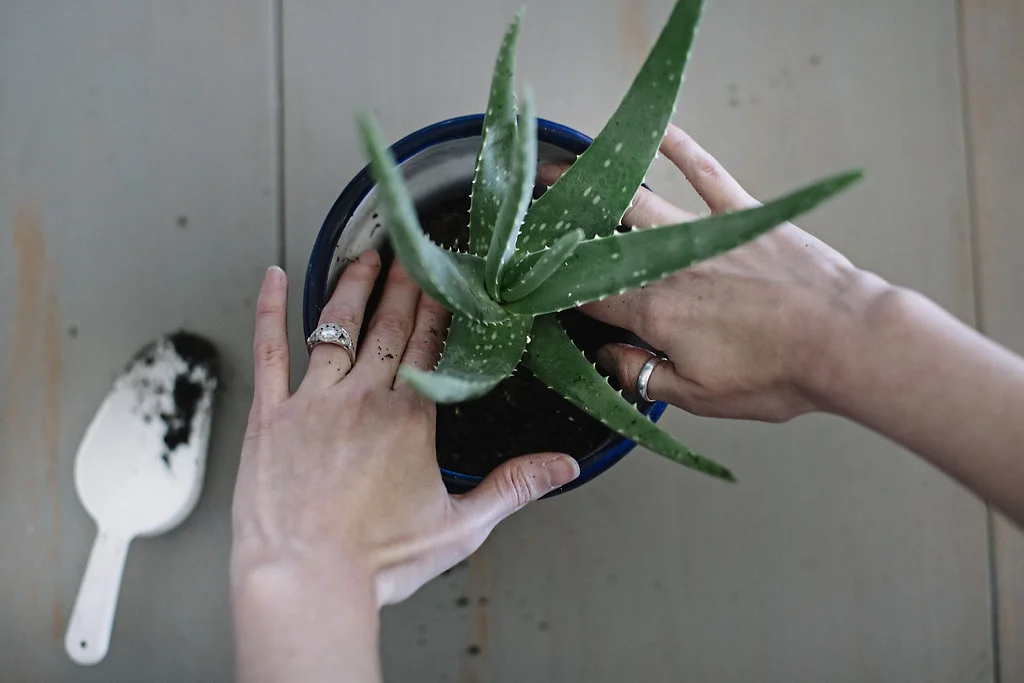
Step Four: This is something that Perry, whose a landscape architect, showed me. Use your thumbs to break apart the roots a little bit at the bottom. This allows the roots to spread out from it's confined "root ball" and also encourages new root growth.
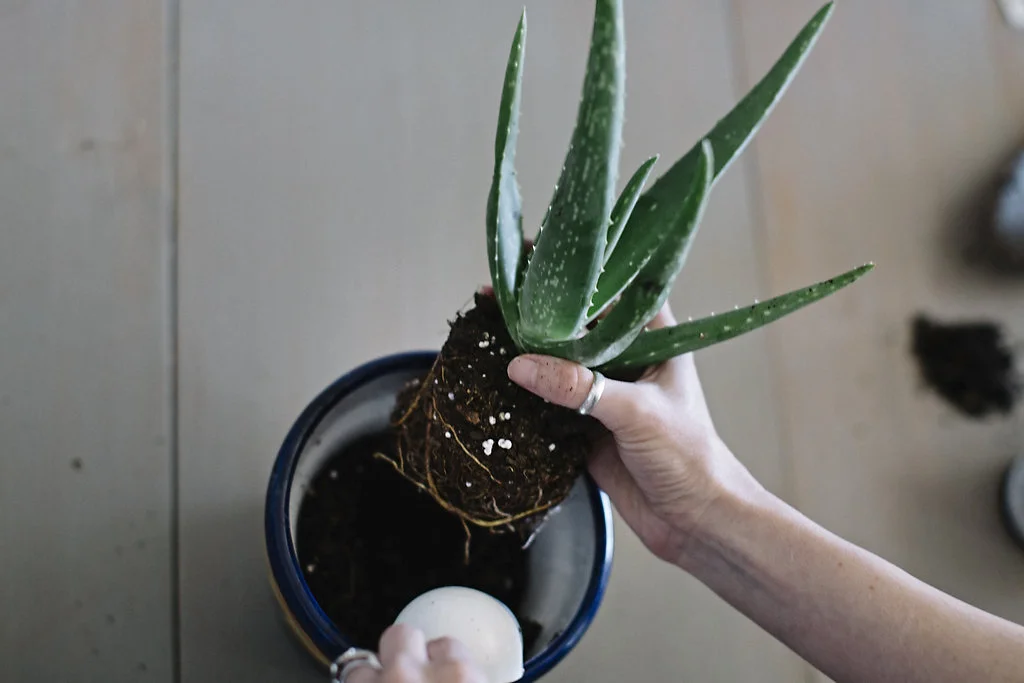
Step Five: Dig a little hole in your soil and begin placing the plant in it's new pot. Then, pour some dirt on top and firmly pat the dirt with your hands all the way around the plant until the new dirt and the dirt from your plant are leveled out evenly.
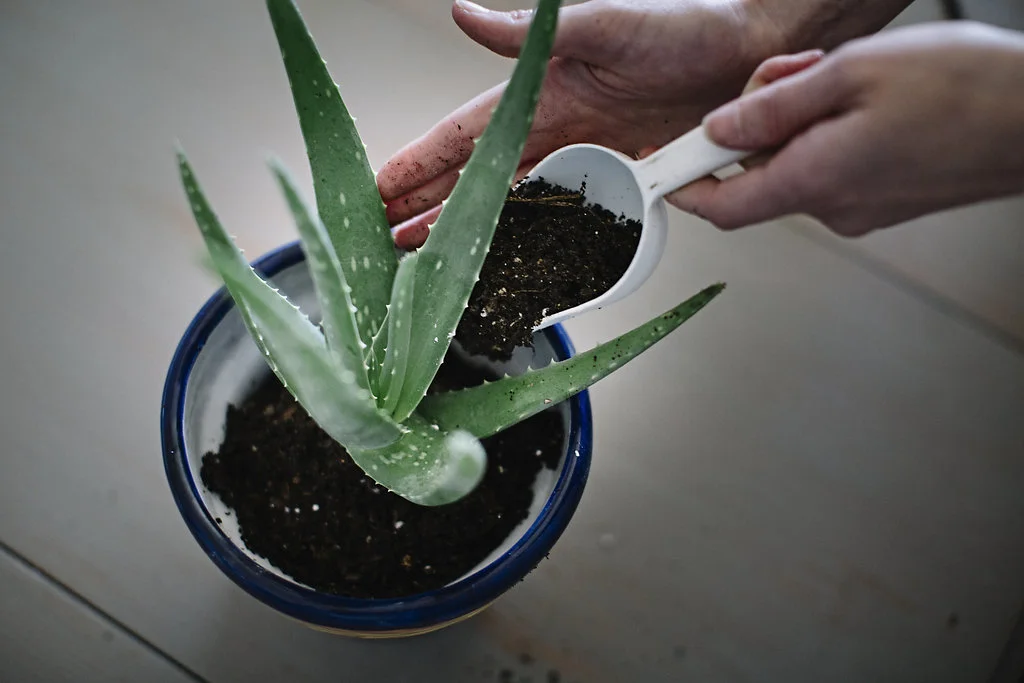
Step Six: Water that sucker! Rule of thumb with watering plants is to make sure you don't over water. The way to check if your plant baby needs water is to stick your finger about an inch into the soil. If it's dry, then give it some water. If it's not, leave it alone.

Photography by Brittany Renee'